
How to Create a Bootable USB Drive for Windows
This step-by-step guide shows you how to create a bootable USB drive for Windows using official tools and a Windows ISO file. Whether you’re upgrading, troubleshooting, or setting up a new PC, this tutorial covers everything you need—from downloading the Windows Media Creation Tool to setting up your BIOS to boot from USB.
1. Download Mircosoft’s Media Creation Tool
Either navigate and download it here or press this for an imidate download.
Tip! You can download the next tool Rufus now as well
2. Run the Media Creation Tool
Check ‘Use the recommended options for this pc’ if not already selected
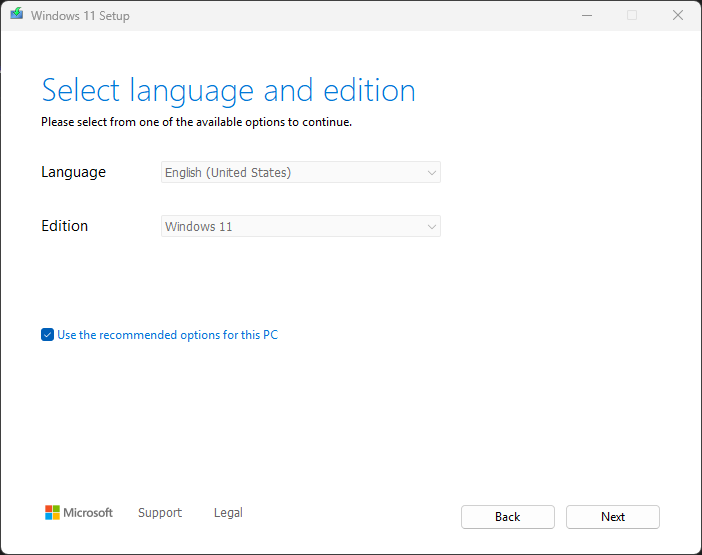
Then press on the ‘Next’ button
Once on the next page make sure you select ‘ISO file’
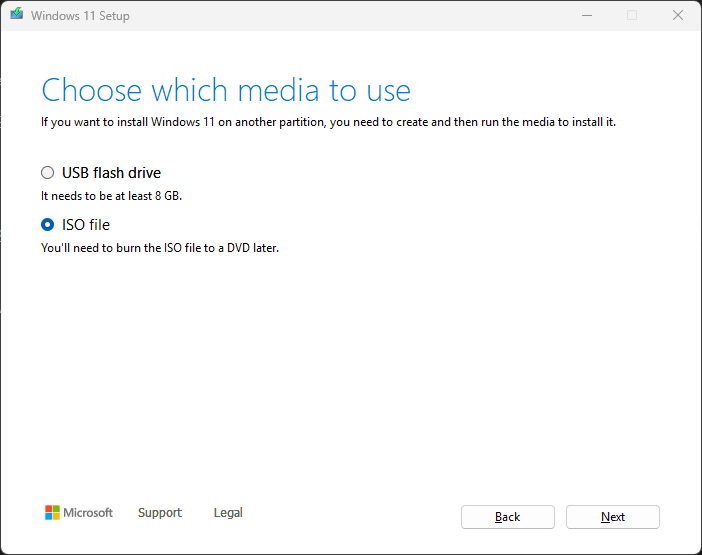
Then press ‘Next’ and choose a location for saving the ISO file
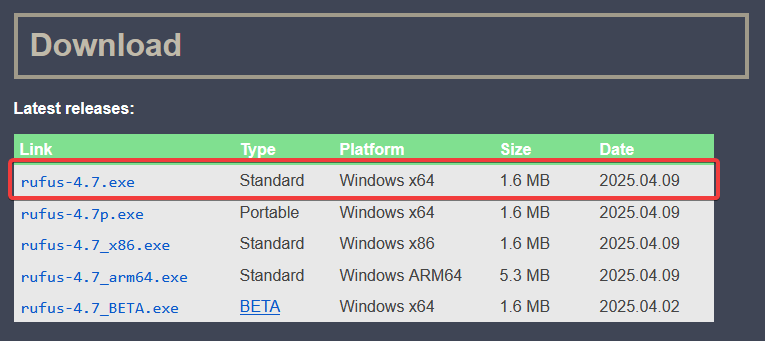
3. Download and Install Rufus
Rufus can be downloaded here, choose the regular .exe version
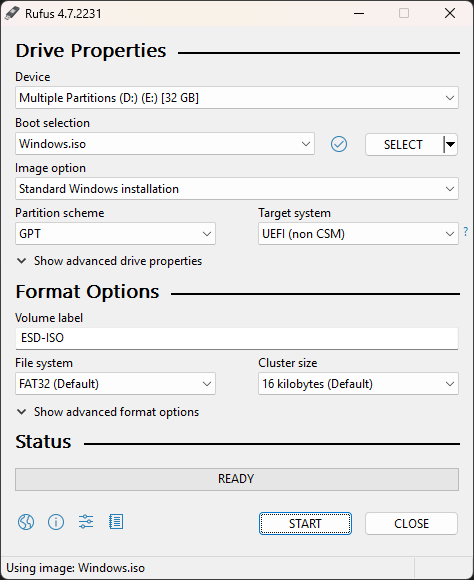
4. Start Rufus and Select ISO File
Select your USB drive
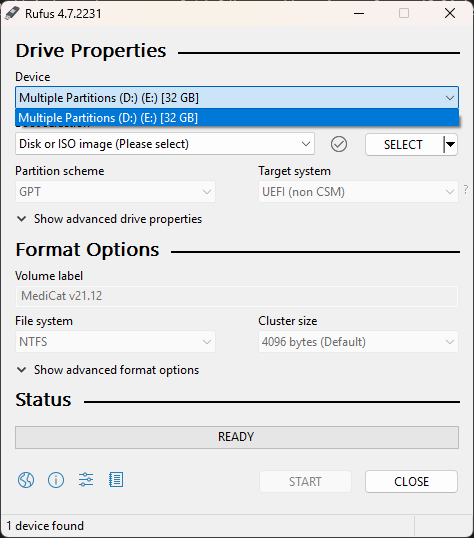
Then press the ‘Select’ button and choose the windows ISO you created. Once you’re done it should look something like this:
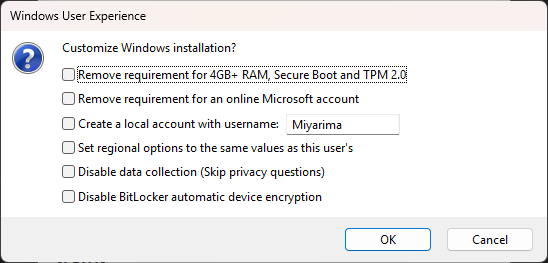
5. Start Formatting the USB Drive
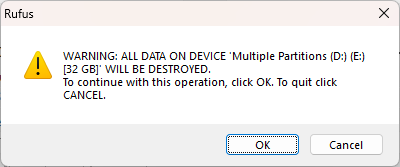
Press ‘START’, you could here select some the options but if you want a regular Windows installation choose none of them
Press ‘OK’ on the warning pop-up
It will look like this when it’s done:
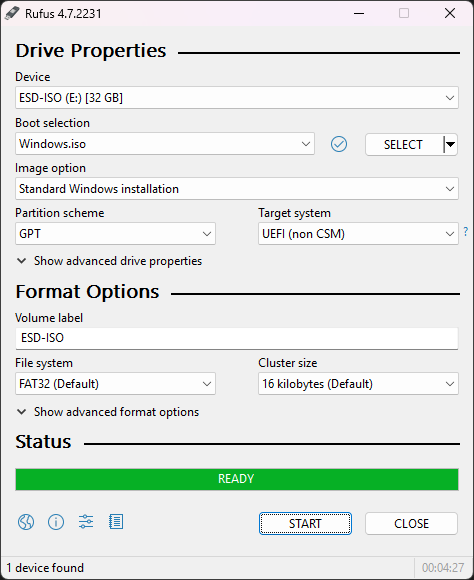
Congrats!! You have succesfully created a bootable USB drive with windows
// Miyarima